Shingles to Gutters: How to Locate and Repair Roof Leaks Like a Pro
Finding the source of a roof leak can be a challenging task, especially on certain types of roofs such as flat roofs or roofs with very low pitches. This guide will help you locate the problem and provide tips on how to find roof leaks, even when the source of the problem isn’t obvious.
Why It’s Important to Know How to Find Roof Leaks
It is important to ensure that the shell of a home is as watertight as possible, as roofs do not last forever. When roofs begin to fail, it can lead to various problems. Water leaking into the living space can cause damage to furniture, flooring, and personal items. Additionally, water traveling down the walls and soaking into insulation can lead to the growth of dangerous mold.
Homeowners who are aware of the signs can detect these issues early. Keep an eye out for musty odors, stains, unexplained puddles, and the sound of dripping water. By acting promptly, they can reduce the damage, fix their roof, and return to their normal routine.
How to Find Roof Leaks
Discovering roof leaks can be a challenging task for homeowners, as the source of the leak may be located far from where the water is actually entering the home. Here are some helpful tips to help you identify and address roof leaks.
1. Start at the Stain
To begin locating the source of a roof leak, start by identifying the stain where the water is collecting. This can help reverse-engineer the leak and determine its origin. In cases of severely wet drywall, consider removing it and the insulation behind it to thoroughly inspect the wall or ceiling joist cavity for water and track it back to the source.
It’s important to remember that many types of insulation can retain a significant amount of water, causing the wall cavity to become saturated. In some cases, it may be necessary to allow the wall to dry out before attempting to identify the source of the water.
2. Check the Attic
To locate a roof leak, it’s important to inspect the underside of the roof in the attic. Check each rafter for signs of moisture and pay close attention to areas where two planes meet, like where a ceiling porch connects to the main roof or where a dormer meets the roof.
When inspecting for a leaky roof, it’s important to start by looking low, such as at the attic floor and the bottom of the rafters. Using a flashlight, be sure to search for moisture, stains, carpenter ant damage, deteriorating sheathing, and other signs of a potential leak.
It’s important to note that the source of the leak may not be the roof. Small stains can also be caused by condensation on metal pipes and nails.
3. Inspect the Roof
Once you have identified the general area of the source, it is important to carefully inspect the roof for any damage. Remember to use a ladder, ensure secure footing, and exercise extreme caution, as falls from roofs and ladders can be very dangerous and unfortunately happen frequently.
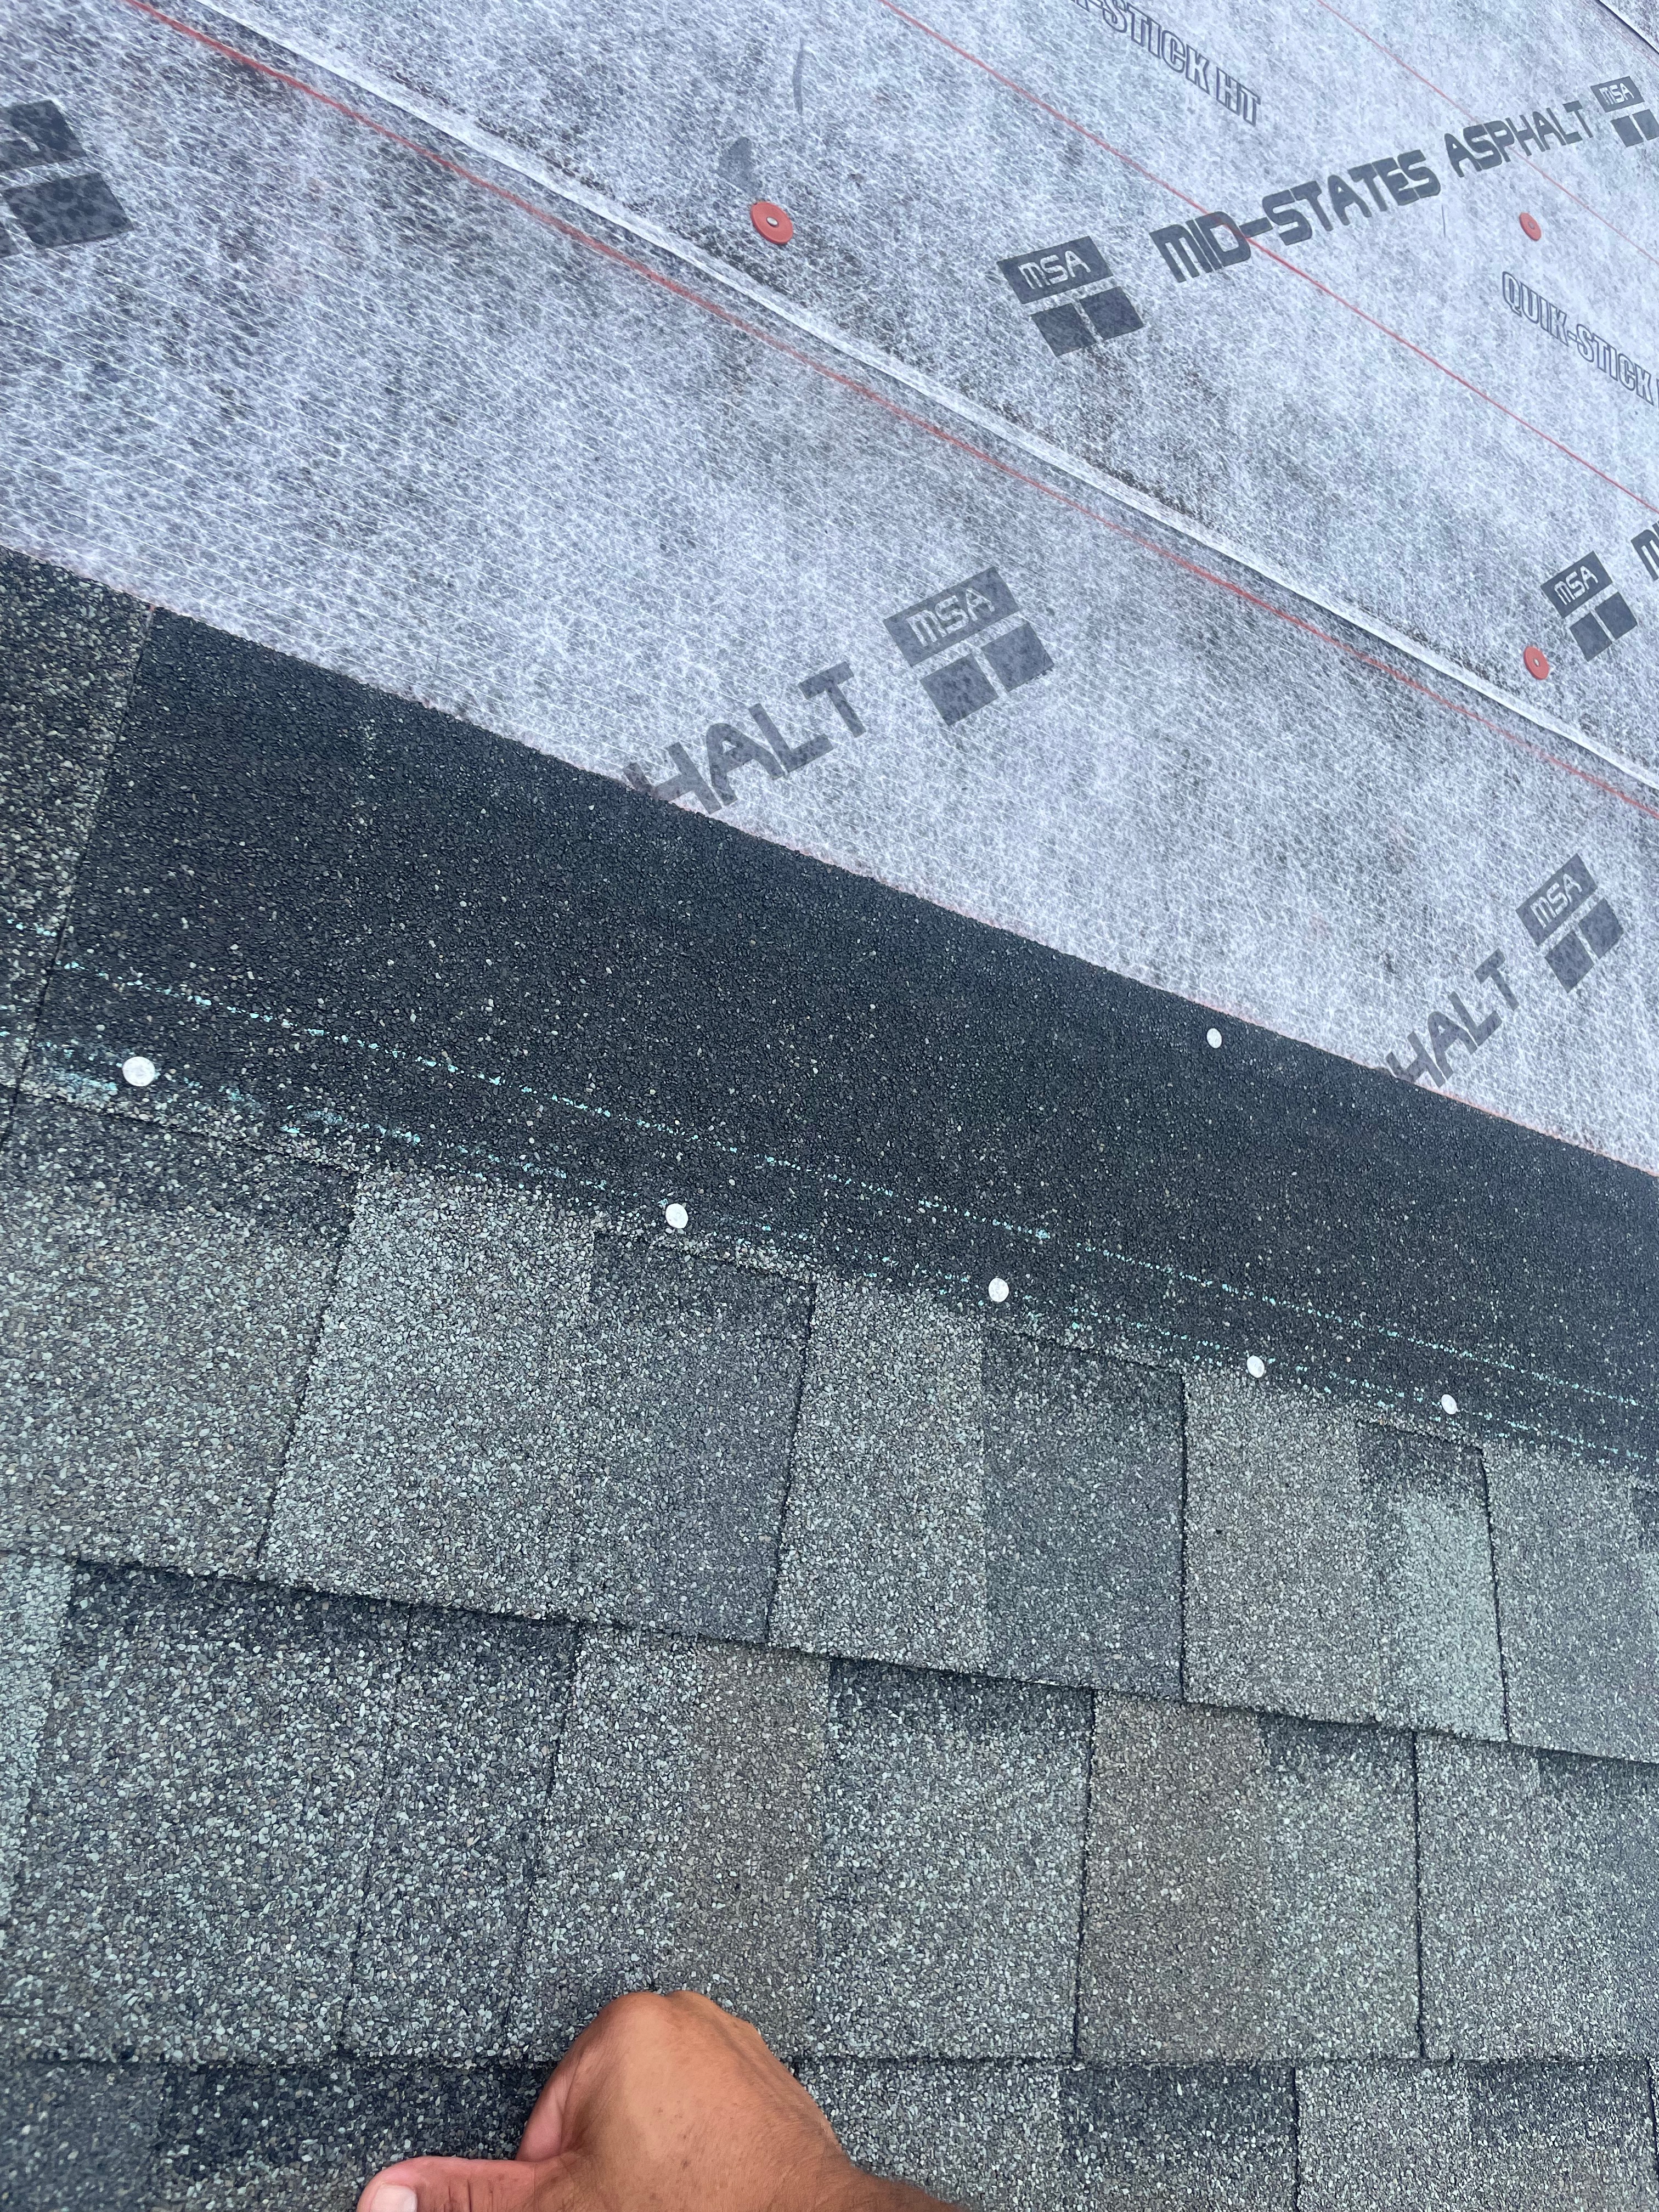
When you are at eye-level with the roof, be sure to carefully inspect the area around the leak for any obvious damage. This could include missing or damaged shingles, structural damage, torn flashing, or improperly installed roofing. These issues are common causes of leaks, so it’s important to be on the lookout for them.
Choose the most experienced and trusted roofers for your home or business roofing needs. Their expertise and track record of quality work will ensure you get the best results for your project.
4. Soak the Roof
If a thorough inspection doesn’t produce results, it might be necessary to simulate rainfall by either running a hose over the peak of the roof or having a helper spray the roof with a garden nozzle while observing from inside the home.
In order to make tracking the leak easier, it is best to work in sections. Begin on the lower portion of the roof and move from one side of the leak area to the other, spending a few minutes in each area to ensure the roof is thoroughly soaked. After soaking the lower portion in the area of the leak, proceed to wet the higher portion, working from one side to the other.
When soaking the roof, it’s important to also inspect the inside for any signs of water damage. This includes listening for drips, looking for puddles, and checking for any areas of moisture.
5. Remove the Shingles
If you haven’t found the leak yet, it’s important to carefully inspect the sheathing under the affected area after removing the shingles. Plywood can absorb moisture, so it’s crucial to thoroughly check for any potential sources of leakage.
By doing this, you can be sure of the location of the leak and have already completed half of the repair work needed. With a clearer understanding of where the water is coming in, you can make targeted repairs to prevent further damage and ensure the long-term integrity of your roof.
In conclusion, finding the source of a roof leak can be challenging and take up a lot of time. However, using the correct methods and tools can help you locate and fix any leaks on your roof. It’s crucial to inspect your roof regularly for any signs of damage or wear, as catching leaks early can prevent expensive repairs in the future. Whether your roof is flat or low-pitched, following these tips will help you efficiently address any potential issues. Avoid further damage to your home caused by a leaky roof and reach out to 50 North Roofing for further assistance.
